
Ride to Gondor!
“Ride now, ride now! Ride to Gondor!”
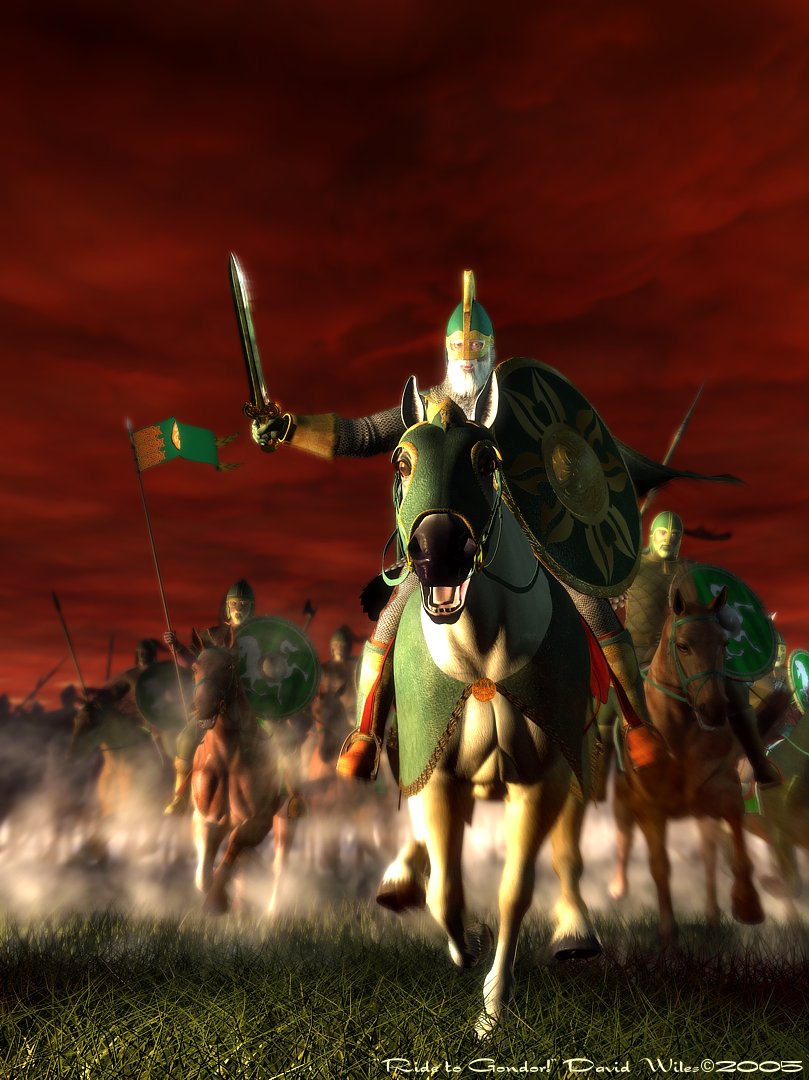
“Suddenly the king cried to Snowmane and the horse sprang away. Behind him his banner blew in the wind, white horse upon a field of green, but he outpaced it. After him thundered the knights of his house, but he was ever before them. Éomer rode there, the white horsetail on his helm floating in his speed, and the front of his éored roared like a breaker foaming to the shore, but Théoden could not be overtaken.”
The Lord of the Rings, Book V, “The Ride of the Rohirrim”
Technical aspects: One of the classic scenes from “Lord of the Rings” As in “Last Stand at Parth Galen”, I wanted to steer clear of merely imitating Peter Jackson’s movie and give the image my own unique interpretation, so I decided to build this scene from the ground up.
(Bernard Hill in Peter Jackson’s movie was too young in my opinion for the role of Theoden so with that in mind I began work on this picture more than a year prior to its completion.)
DAZ’s Michael 3 formed the basis of the character of Theoden, and most of his AND the Rohorrim’s armor was created from scratch with Rhino3D. The Millenium Horse heavily morphed and scaled was used for the foreground riders and the old Poser 4 horse with the Low-resolution Michael 2 from DAZ was used for the 40-odd riders in the background (Yes, I counted them!)
The end result was around 4 separate renders all of which were composited carefully in Corel PhotoPaint 12, because even my new new P4 3.2GHz machine with 2 Gb RAM couldn’t handle all the figures together in one scene!
The sky and looming clouds (spewed from the land of Mordor) proved to be the biggest challenge of this entire picture. The volumetric materials of Bryce 5.5 are STILL buggy and numerous artifacts and gaping “Boolean” holes are created when using volumetric materials in groups! Eventually I resorted to creating a whole collection of flattened spheres with a simple volumetric material, placing the sun low on the horizon and setting the camera above the “cloud” layer. Then I merely rolled the camera 180° degrees along the Z-axis to give a low and brooding appearance. The render took 118 hours to complete – a real “Bryce-killer”, but the final effect was completely satisfactory.